20 Trailblazers Leading the Way in best headshots
31 Best Tips for Taking Your Own Blog Site Head Shots
Just how to take professional-quality head shots without a photographer!
2 weeks earlier, I located myself in fairly a circumstance: I intended to purchase new business cards that included my picture, however I did not like practically each and every single photo on my computer. Without the moment or money to telephone a specialist, I emailed a high school digital photography friend to request her assistance. She swiftly concurred, and we planned a day for the shoot.
The day previously, my friend fell unwell with a horrible cold. Although she still used to come over, I urged that she stayed in bed to rest. Emphasized over what to do, I clarified the circumstance to my person when he got back from job, and he promptly provided to break the camera shutter, regardless of not totally recognizing just how my dSLR functioned.
On Easter Sunday, with kids beyond of the park pulling apart bushes and jumping into trees looking for vibrant eggs, we navigated my head shot image shoot. An hour later, after many chuckles and also a couple of funny faces, we climbed up back right into the auto to download and install the outcomes.

In spite of my individual's statement that he wasn't a fantastic professional photographer, the shots still ended up perfectly!
Eventually during your blogging job, you'll most likely want to have your portrait taken too. If you've simply begun and are just make dimes-- or choose spending your monthly income on exquisite chocolate truffles as well as fancy restaurants-- a specialist photographer might not fit right into your normal budget plan. But if you follow my 31 basic pointers for taking your own, you'll still wind up with high-grade portraits for a portion of the cost!
The Professional photographer
• Phone a good friend. Or a relative. Or your publication club leader. As long as they know how to squint via the viewfinder and click the shutter, they're the ideal professional photographer! Likewise, pick someone you're comfortable around and also who easily makes you chuckle. You may really feel uncomfortable while standing in front of the lens as opposed to behind it, so it's actually beneficial to bring along a individual who helps you loosen up.
• Have s/he wear comfy apparel as well as shoes. Depending on your selected place, your buddy might squat, rest, spin, turn, or stand on her tiptoes to mount the best shot. Those positions might be cumbersome in a pencil skirt or a organization suit, so prepare your professional photographer!
• Use the very same tinted clothing. This is specifically crucial if your digital photographer isn't the most camera-savvy individual on the planet. By wearing the same shade, you can have them present in your chosen location while you establish the correct video camera settings (ISO, aperture, shutter rate, etc) to attain one of the most flattering lights direct exposure.
• Prepare s/he for how long the session could take. Generally, your image shoot will certainly take between 1-2 hrs amount to from the moment you hoist your cam to when you break the lens cap back on. If you're both gotten ready for that time framework, neither of you will feel rushed or worried.
• See to it s/he eats beforehand. It seems foolish, yet a hungry professional photographer produces a stressful-- and reduced-- photo shoot. And more than likely, neither of you will certainly enjoy with the outcomes! Load a few treats too, simply in case, to guarantee the session goes smoothly.
Your Appearance
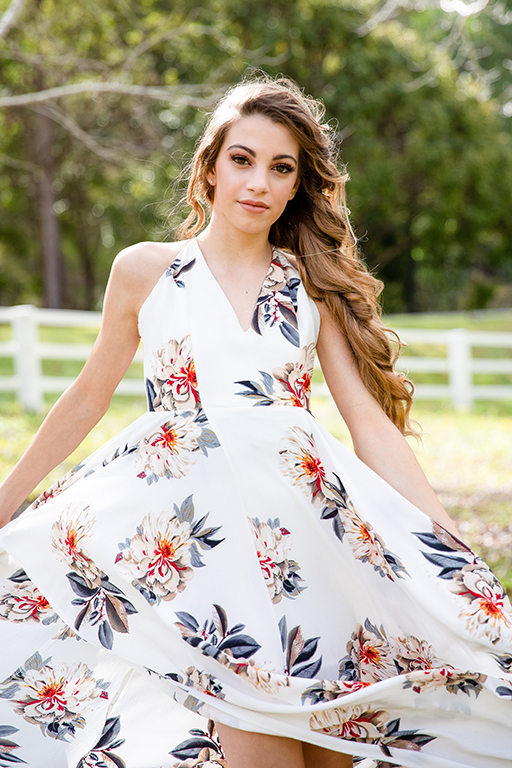
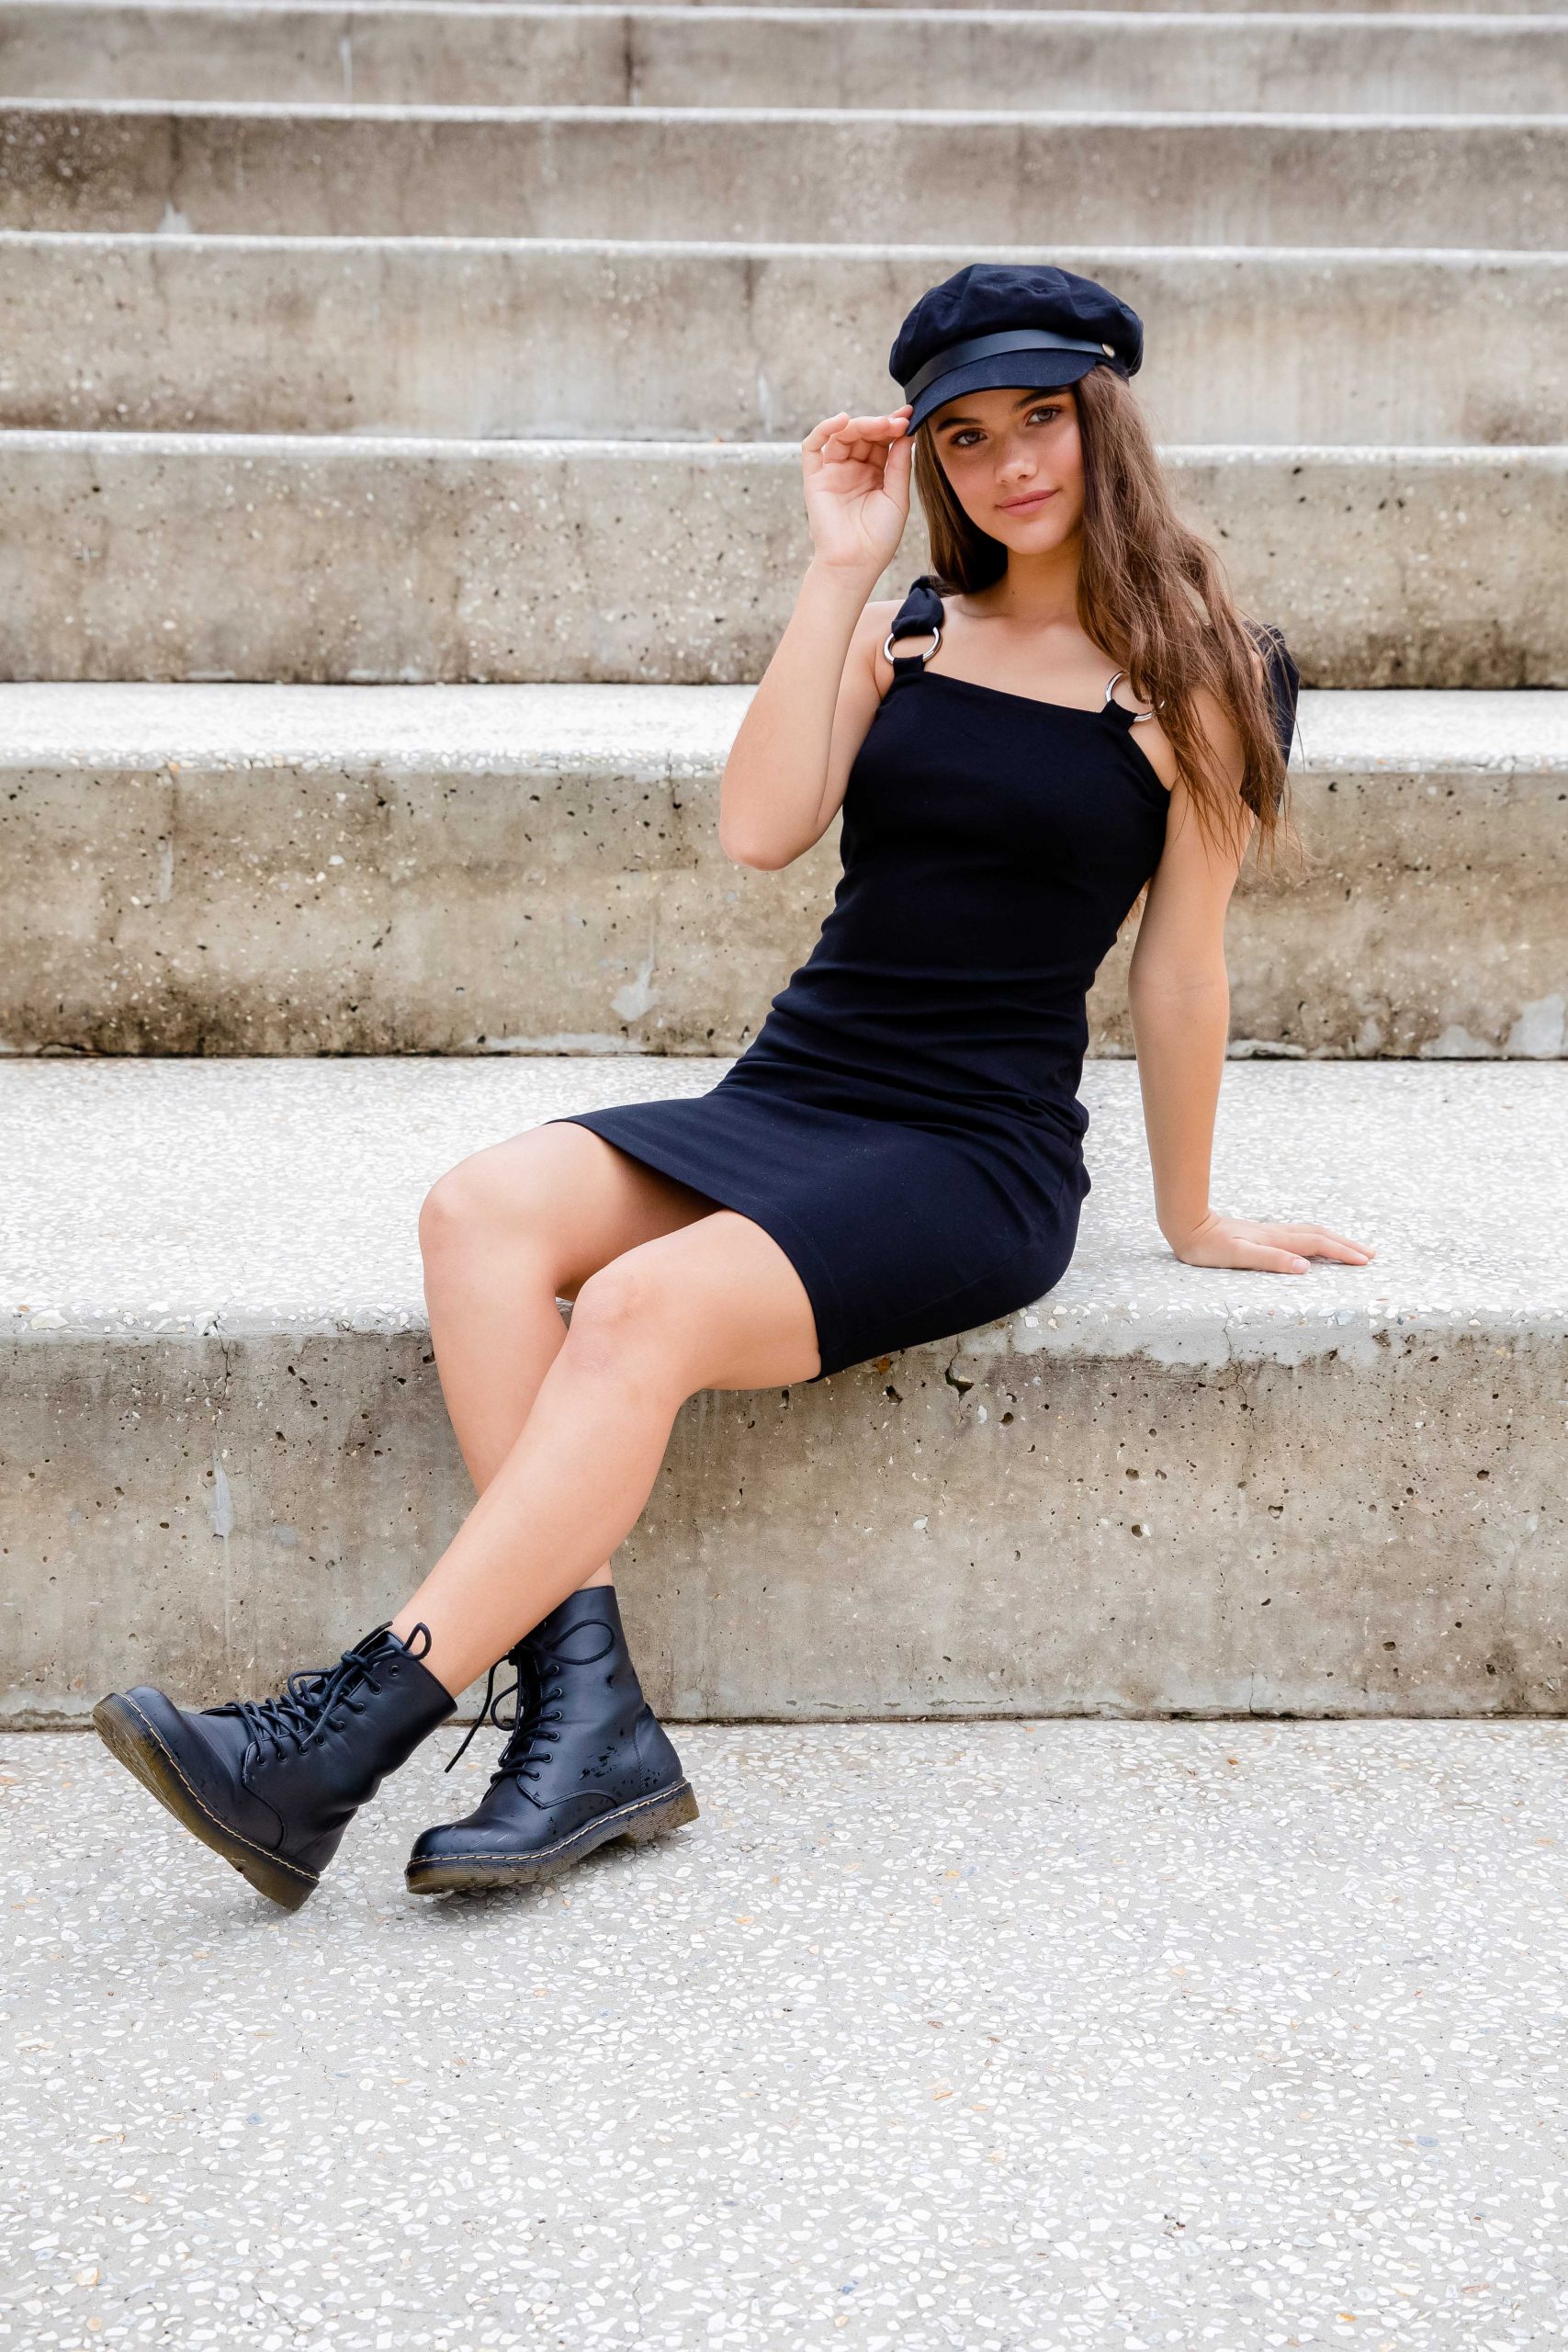
• For clothing, remember the 3 C's: Classy, Comfortable & Confident. Some stylists caution versus putting on light colors or container tops, however I entirely disregarded that suggestions. I selected find here my favored gown, a white number with shoelace that looked ageless and lovely, since it fit well and I felt rather in it. When you fit as well as certain in your clothes, you'll really feel extra comfortable during the shoot, and your images will certainly look natural and also kicked back.
• Stick to neutral-colored make-up. I'm no make-up musician-- I hadn't cleaned on eye shadow in years before my shoot!-- but natural tones constantly look stylish. Look for tutorials on the web if you require comprehensive advice, and experiment with different looks throughout the week leading up to your image session. Nonetheless, if you use intense magenta lipstick daily or teal eyeliner as your signature look, feel free to apply those for your shoot-- these images are supposed to be the very best representation of you as well as your look.
• Put on sunscreen the whole week before. Less than 1 day prior to my photo shoot, I sat next to my father at a baseball video game in the brilliant springtime sunlight. I thoroughly scrubed sunscreen across my cheeks, yet I managed to miss the rear of my appropriate shoulder. It transformed bright pink, but give thanks to benefits the sunburn had not been on my nose-- I would certainly've invested hrs understanding the editing airbrushing technique to eliminate that proof after my picture photos!
• Get your appeal rest. Go to sleep early, turn on a sound maker, turn off your alarm-- whatever you require to do to prevent those dark baggy circles under your eyes! Yes, you can lessen their grayish color with makeup as well as Photoshop, but nothing beats those additional Z's.
• Go barefoot. Or slide on flip flops. Or tie up your favorite well-worn pair of Reverse. The majority of the moment, only your head and also torso show up in the structure, so use whatever footwear you really feel most comfortable in! But simply in case you make a decision to take any unabridged shots, bring along a great set you can quickly get on that matches your attire also.
The Location
• Nature always looks stylish. Some people own massive airy cooking areas with intense marble kitchen counters, tidy white cabinets, and also definitely no clutter visible. If you have among these, of course take your head shots there! Otherwise, skip on outdoors as well as find a peaceful, calm park. Deep natural tones of green and brown constantly produce a ageless backdrop!
• If outdoors, stay clear of a lot of indications of world. That grey concrete trashcan, those 6-year-olds laughing on play ground swings, that red "Pick up after your dog" indicator ... Those history nuisances all distract from your beautiful face, so stick to easy trees and also blossoms instead!
• Avoid or get rid of distracting items behind-the-scenes. A extension of the last idea ... If outdoors, establish your purse and coat behind the photographer as opposed to next to your side, and glance behind you before she clicks the shutter to double-check no stubborn children or canines face the frame. If in your kitchen area, clear the mess off of your kitchen counters and also clean up any roaming spills on the cupboards. We desire the focus on you, not your surroundings!
• Attempt to have a monotone shade in the background. Much less disruptive, a solitary color guarantees that the focus stays on your face, but it does not have to be totally one color. In my photos, I went with varying shades of green from the trees since they all came from the exact same shade household. You can try to select a shade that enhances your clothing or makes your eyes stand out, yet that's not essential. As long as it's refined as well as controlled, you're excellent to go!
The Shoot
• Choose a sunny day. All-natural sunlight is constantly the best lights! Its glow brings out the cozy tones in your skin, softening your attributes as well as offering you one of the most flattering look.
• Pick a warmer day. Like Goldilocks worried, the temperature level should be not as well hot and also not also cool! Over 90 ° you'll probably be red-cheeked as well as sweating, whereas you'll be shuddering with blue lips below 40 °. ( Simply guesstimates, of course!) With modest temperatures, you'll feel comfortable as well as look even more all-natural in your pictures.
• Stay clear of gusty days. Tangled hair whipping around your face as well as adhering to your shiny new lip gloss does not create specialist photos.
• Shoot at some point between mid-morning as well as mid-afternoon. During these times, the sunlight is brightest and also easiest to collaborate with. Although dawn and dusk look artsy, your photographer could not know just how to shoot in these low-light setups. Make it easier for her: clear your hectic routine and also plan appropriately!
• Establish your cam settings with the digital photographer as the subject. This is why you asked for that your digital photographer used the exact same color! Ask her to rest where you prepare to present, as well as break a couple of shots to establish the appropriate ISO, aperture and also f-stops. (If that's Greek to you, simply utilize your cam's automatic setup without flash.) If you both put on the exact same shade, it'll guarantee that your images end up exactly just how you anticipate after programming your camera. While fiddling with the setups, likewise ascertain the history to remove any kind of diversions.
• Avoid odd illumination or shadows. This is particularly
Opmerking
Welkom bij
Beter HBO
© 2024 Gemaakt door Beter HBO.
Verzorgd door
![]()
Je moet lid zijn van Beter HBO om reacties te kunnen toevoegen!
Wordt lid van Beter HBO